
Permaculture Garden Journal & Noteworthy Adventures of an Obsessive Grower in a Front Yard Food Forest & Backyard Greenhouse.
Located in Ocean County, NJ at the Jersey Shore in planting zone 7a

Garden Conferences, Public Speaking and Preparing For Colder Temperatures
In an unprecedented development, I’ve attended 3 different conferences in one week here in New…
Fall brings new native plants, a new truck, harvests and failures
I assembled a batch of compost on Father’s day and have turned it at least…
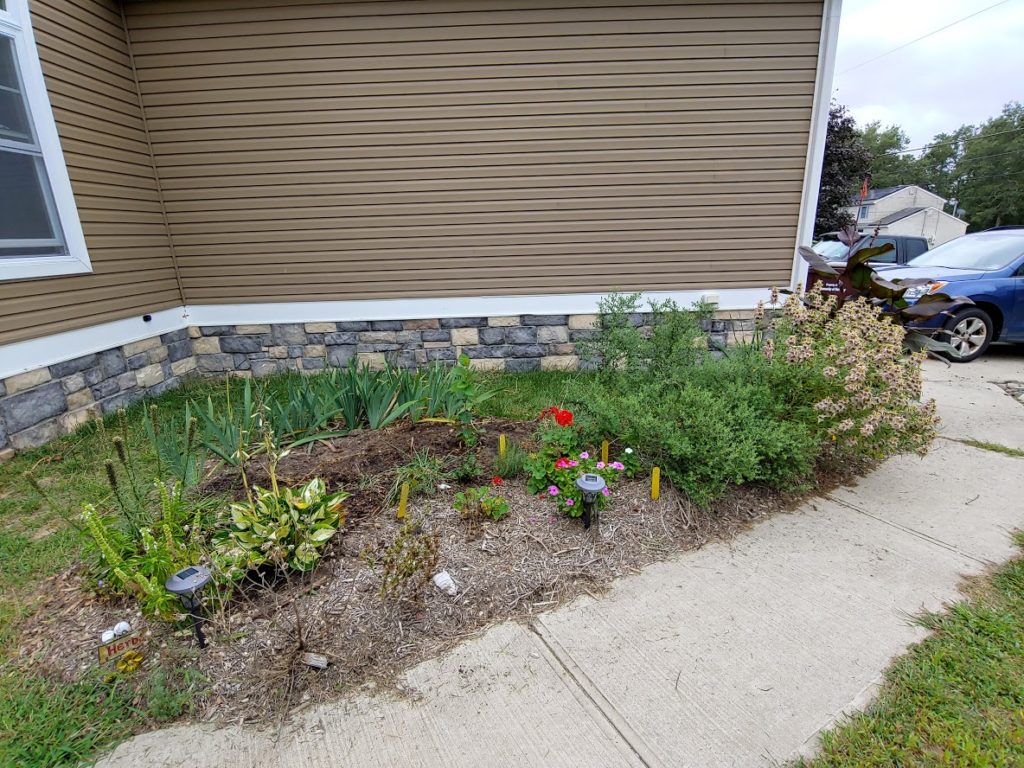
Today’s the day! Permaculture Garden Tour at my place, thanks to the Native Plant Society of New Jersey
The July 2019 meeting of the Native Plant Society of NJ, Jersey Shore Chapter is…
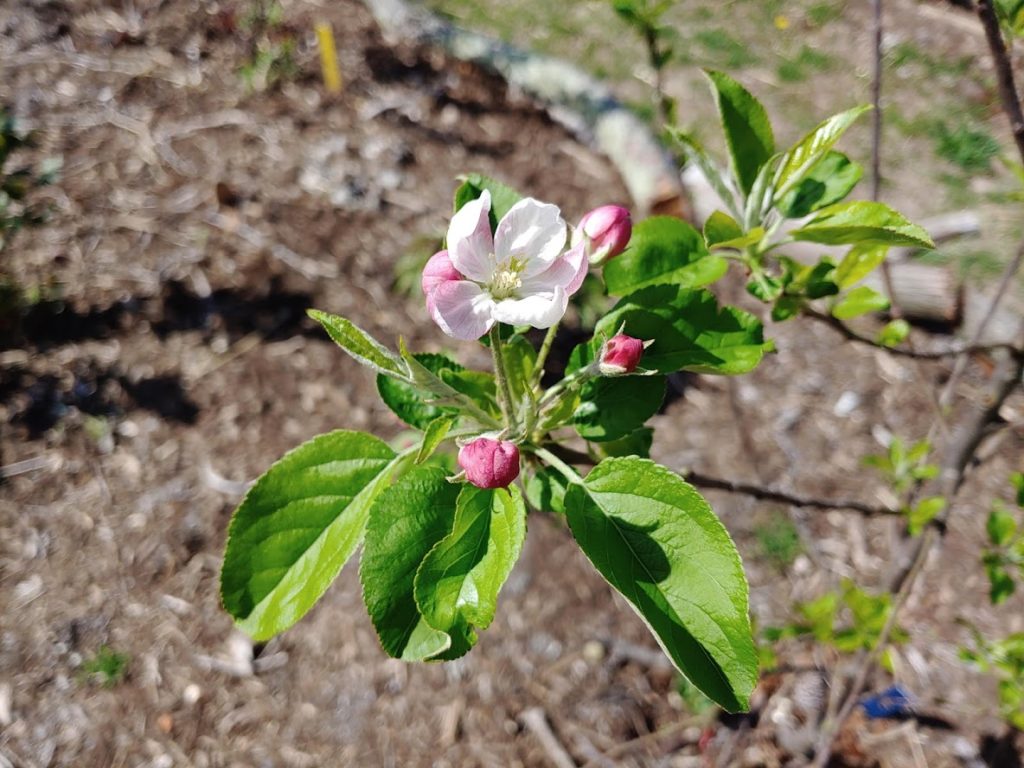
Happy Easter! It’s warm and leaves and buds are popping out all over!
A quick update because the family is getting ready to celebrate Easter festivities and we’ve…